All Blog Tags
How to Take Successful Photos at Night: A Guide to Mastering Low-Light Photography
Night photography opens an entirely new world of visual storytelling. When the sun goes down, the atmosphere transforms, cities come alive with glowing lights, rural landscapes reveal brilliant star-filled skies, and ordinary scenes take on a moody, cinematic tone. But capturing strong images after dark isn’t always as straightforward as it may seem. Cameras struggle in low light, and without the right approach, your photos can end up blurry, underexposed, or riddled with noise. To help you navigate the challenges and get consistently stunning results, here are detailed tips and techniques for taking successful night-time photographs.
1. Use a Tripod
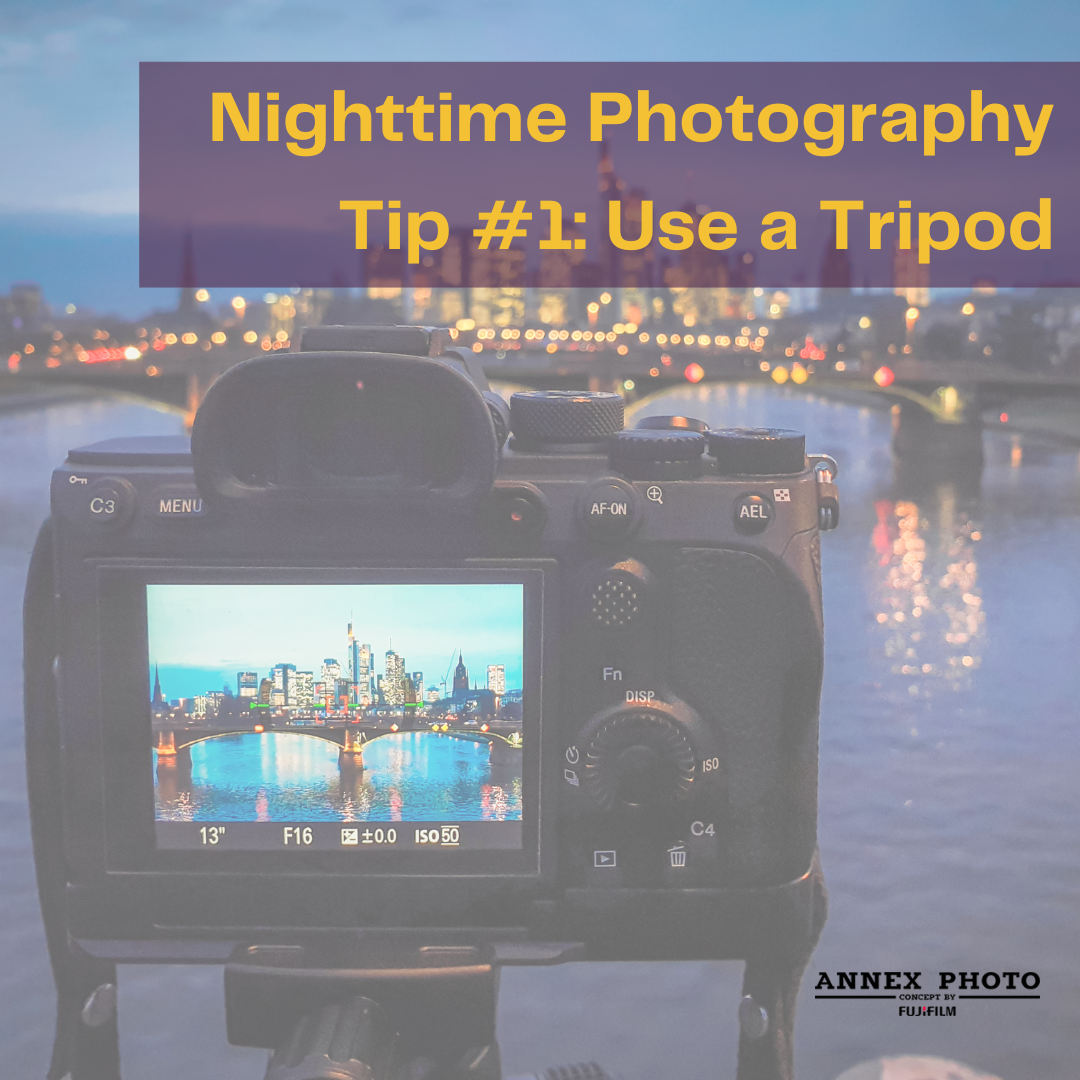
One of the most important pieces of gear for night photography is a stable tripod. Because you’ll often need to use slow shutter speeds to allow enough light to hit the sensor, even the slightest hand movement can cause noticeable blur. A sturdy tripod eliminates this issue, allowing you to take sharp, well-exposed photos without camera shake.
If you're planning to shoot outdoors in windy conditions or uneven terrain, consider using a tripod with adjustable legs and a hook to hang extra weight for added stability. Don’t forget to check that your camera is securely mounted – this is not the time for a wobbly quick-release plate.
2. Master Manual Mode
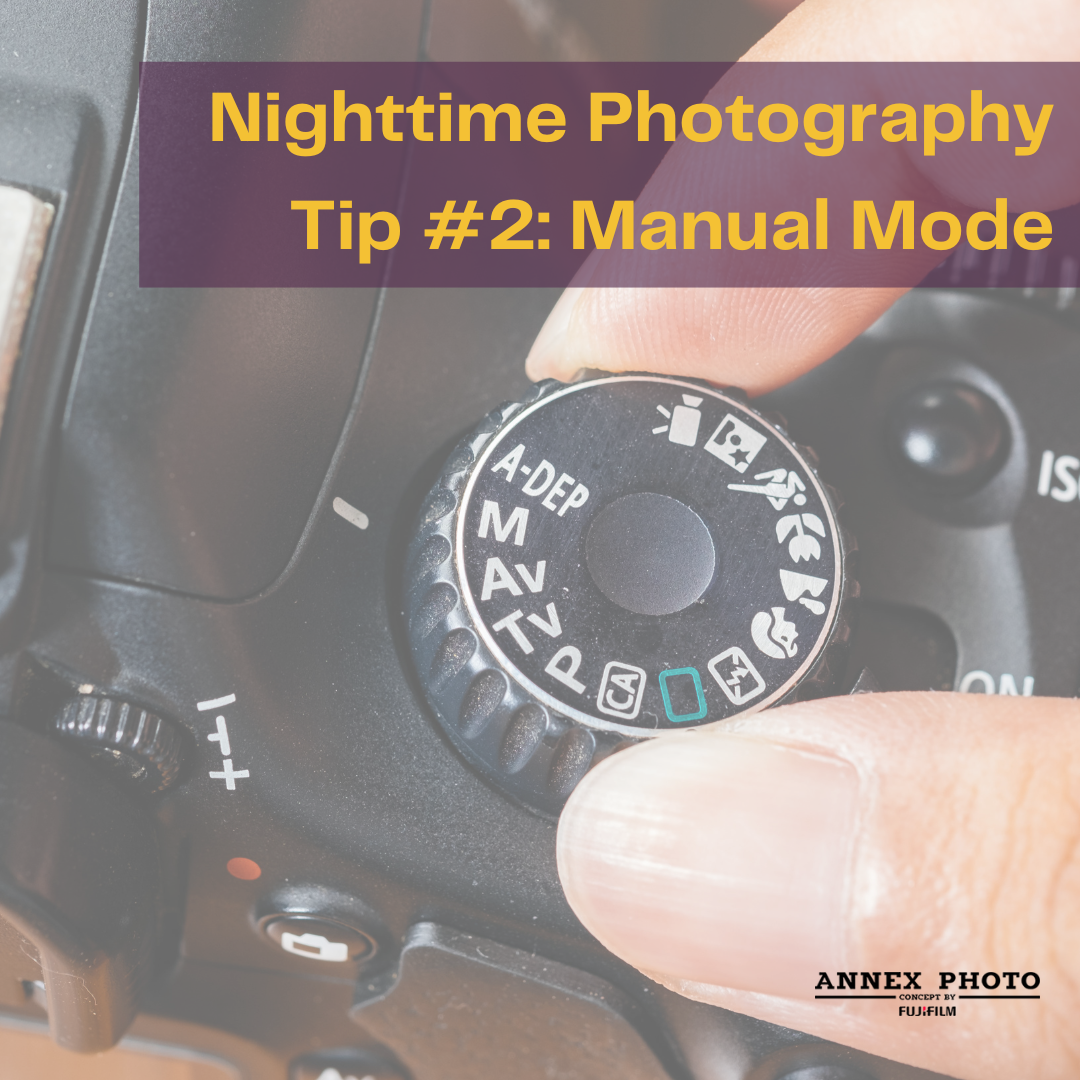
Shooting at night is where manual mode really shines. While auto or semi-auto settings might suffice during the day, they often fail to make the right choices in low light. Switching to full manual mode gives you complete control over shutter speed, aperture, and ISO – three settings that work together to determine your exposure.
A slower shutter speed, often between 1 to 30 seconds depending on the scene, allows more light to enter. A wider aperture (like f/1.8 or f/2.8) will help brighten the image, though be mindful that very wide apertures result in a shallower depth of field. ISO should be increased carefully to avoid excessive digital noise; start at ISO 800 and increase as necessary while keeping quality in mind.
3. Shoot in Raw
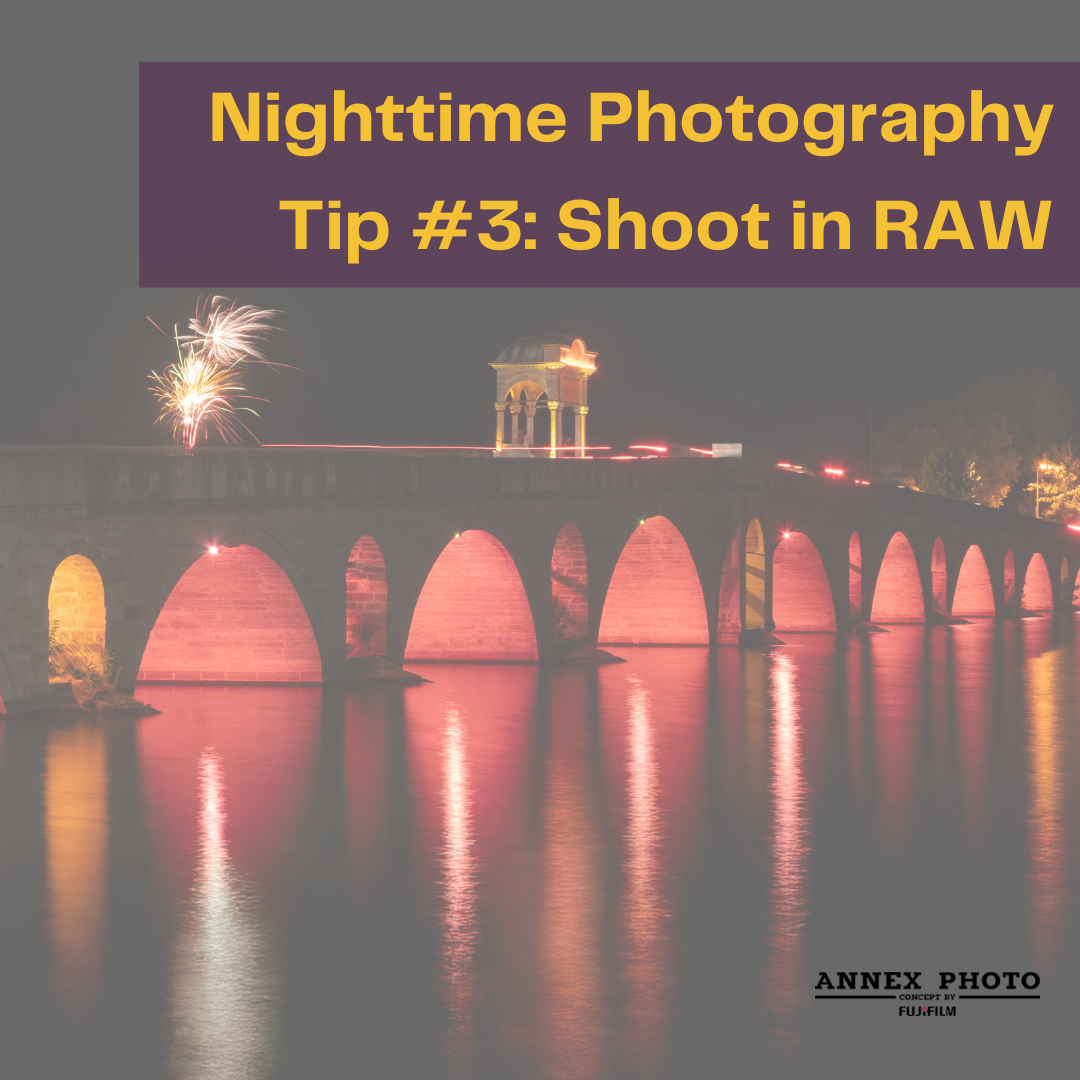
When photographing in low light, shooting in RAW format rather than JPEG is strongly recommended. RAW files contain much more data than compressed JPEGs, giving you far greater flexibility during post-processing. This extra information is especially useful when adjusting exposure, correcting white balance, or reducing noise.
Night scenes can often be underexposed or feature mixed lighting, and being able to fine-tune your image without degrading quality is invaluable. Most modern editing software, such as Adobe Lightroom or Capture One, handle RAW files with ease, allowing you to bring out shadow detail, enhance contrast, and balance colours more naturally.
4. Use Manual Focus
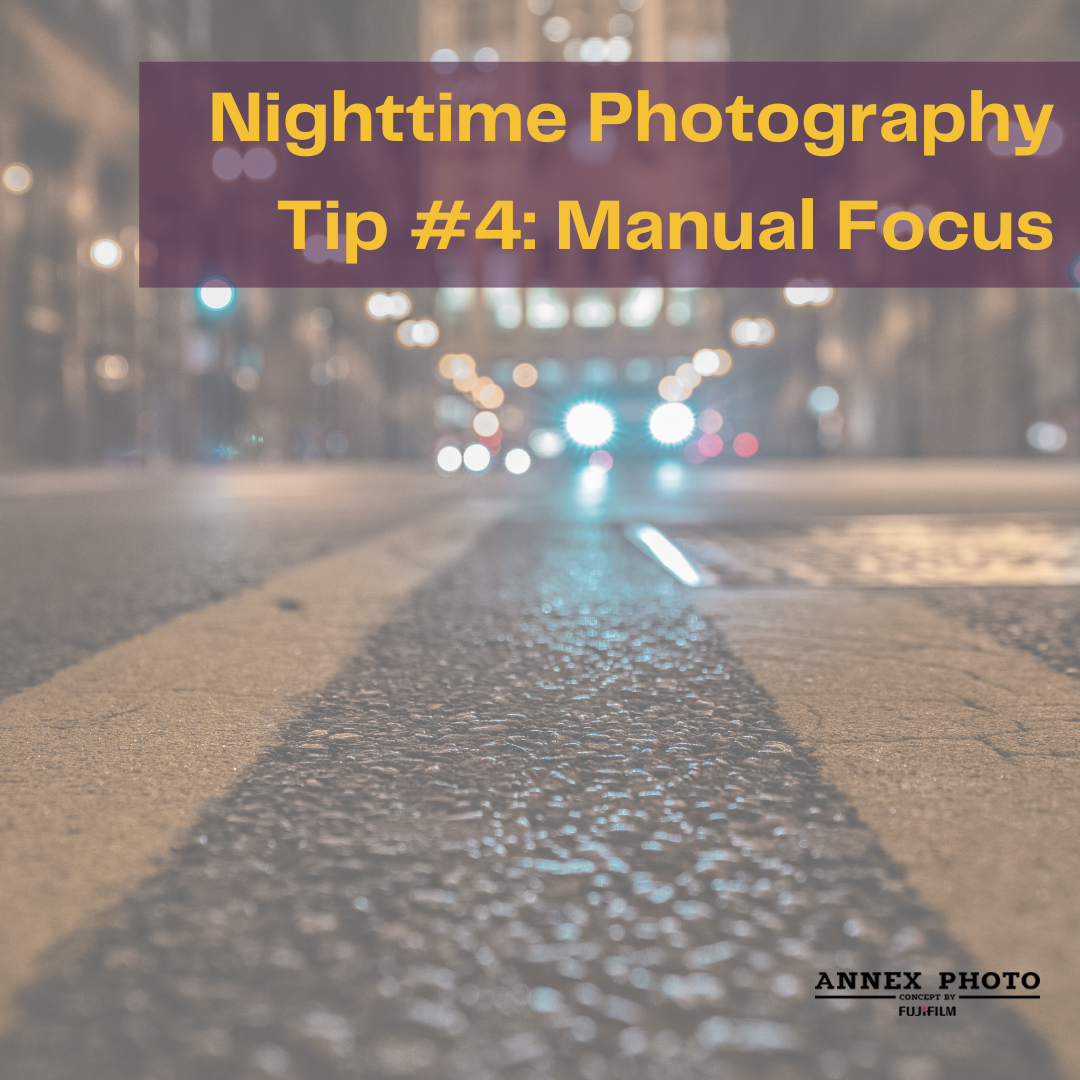
Autofocus systems are designed to detect contrast in a scene, but they often struggle in the dark. In many night photography situations – especially when shooting stars, distant city lights, or dimly lit street scenes – your camera might "hunt" and fail to lock onto a subject. This is where manual focus becomes essential.
Use your camera's live view mode, zoom in on the screen to 5x or 10x, and manually adjust the focus ring until the subject is sharp. If your lens has focus markings, try pre-setting it to infinity for astrophotography, but always double-check using live view to ensure pinpoint sharpness.
5. Make Use of Available Light in the Environment
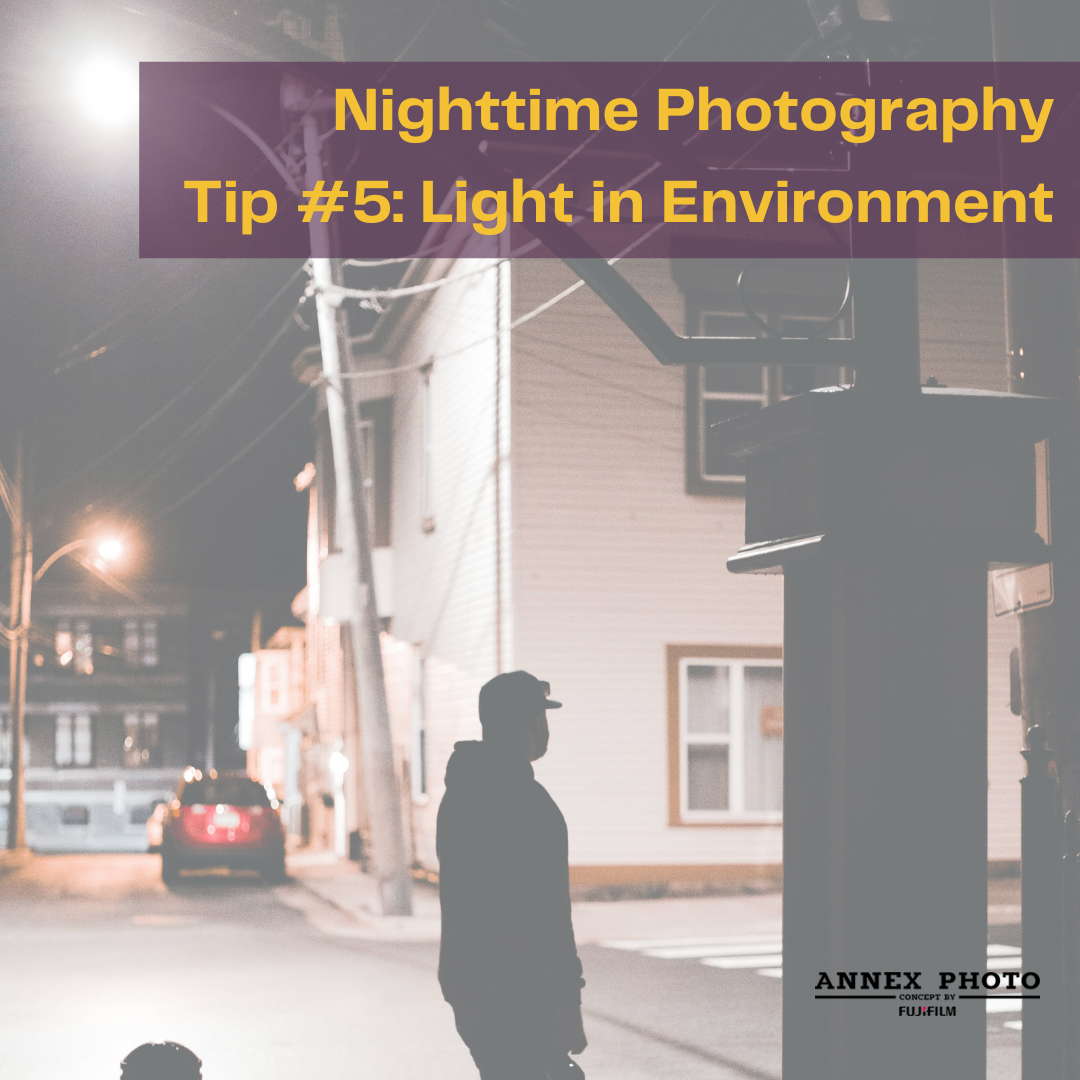
Effective night photography doesn’t require expensive lighting gear. Instead, learn to work with the ambient light already present in your surroundings. This could include streetlamps, neon signs, illuminated windows, traffic lights, or even the moon. These light sources can create contrast, add colour, and serve as compositional anchors. Pay attention to how light falls on your subject and use it to shape your image. For example, photographing a person standing under a warm streetlamp can create a dramatic portrait, while shooting a building lit from one side can emphasize textures and shadows in interesting ways.
6. Keep ISO Low Whenever Possible to Avoid Noise
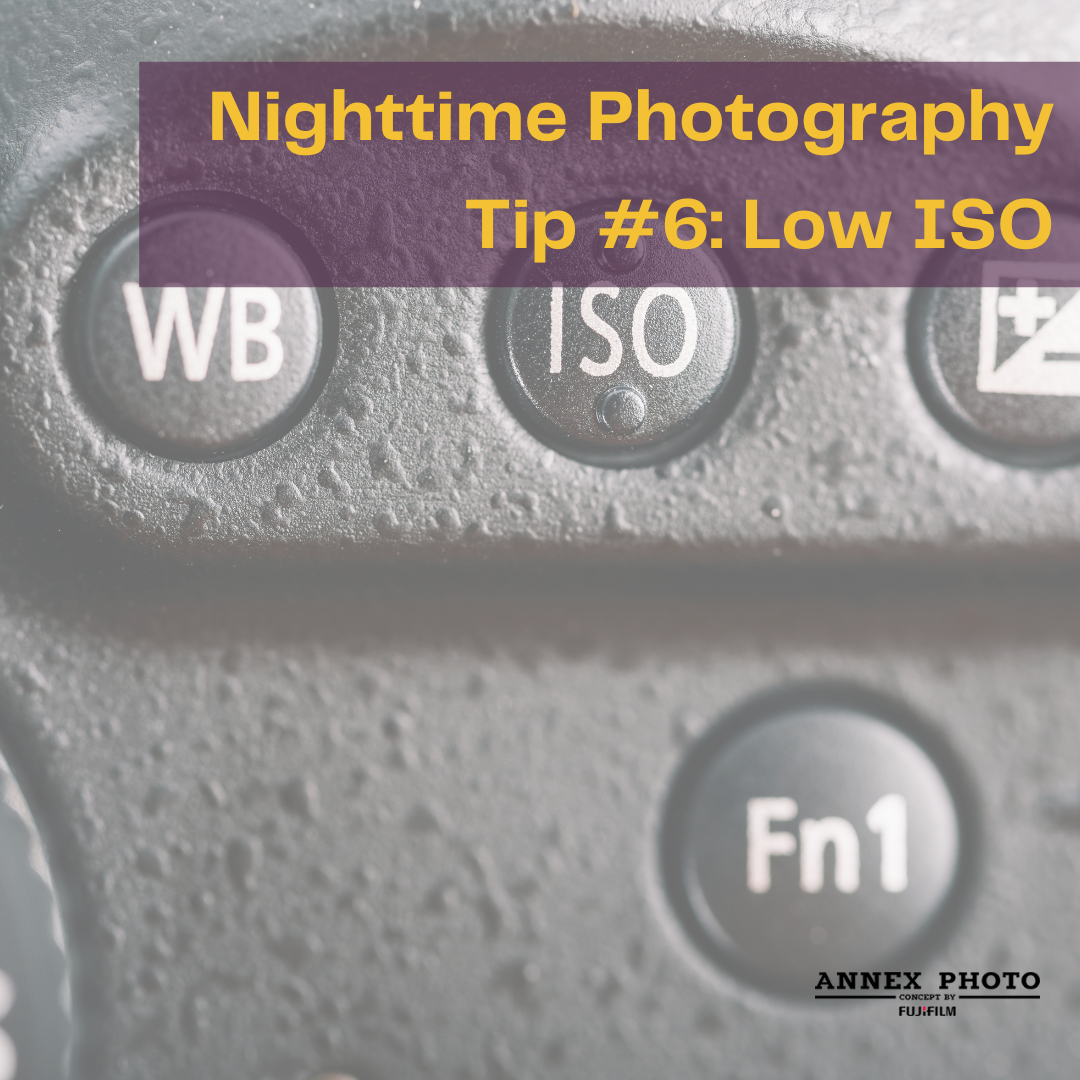
While increasing ISO allows you to shoot in darker conditions, it comes at a cost: digital noise. This grainy distortion can significantly reduce image quality, especially in shadows and smooth gradients like skies or skin. Try to keep your ISO as low as your camera allows while still achieving proper exposure.
Modern full-frame cameras can handle ISO 1600–3200 quite well, but crop sensor or older models may start to degrade at lower settings. Always test your camera’s ISO limits so you know how far you can push it in the field. In situations where higher ISO is unavoidable, noise reduction tools in post-processing can help, but it’s best to get the cleanest image you can straight out of camera.
7. Capture Light Trails for Dynamic, Eye-Catching Shots
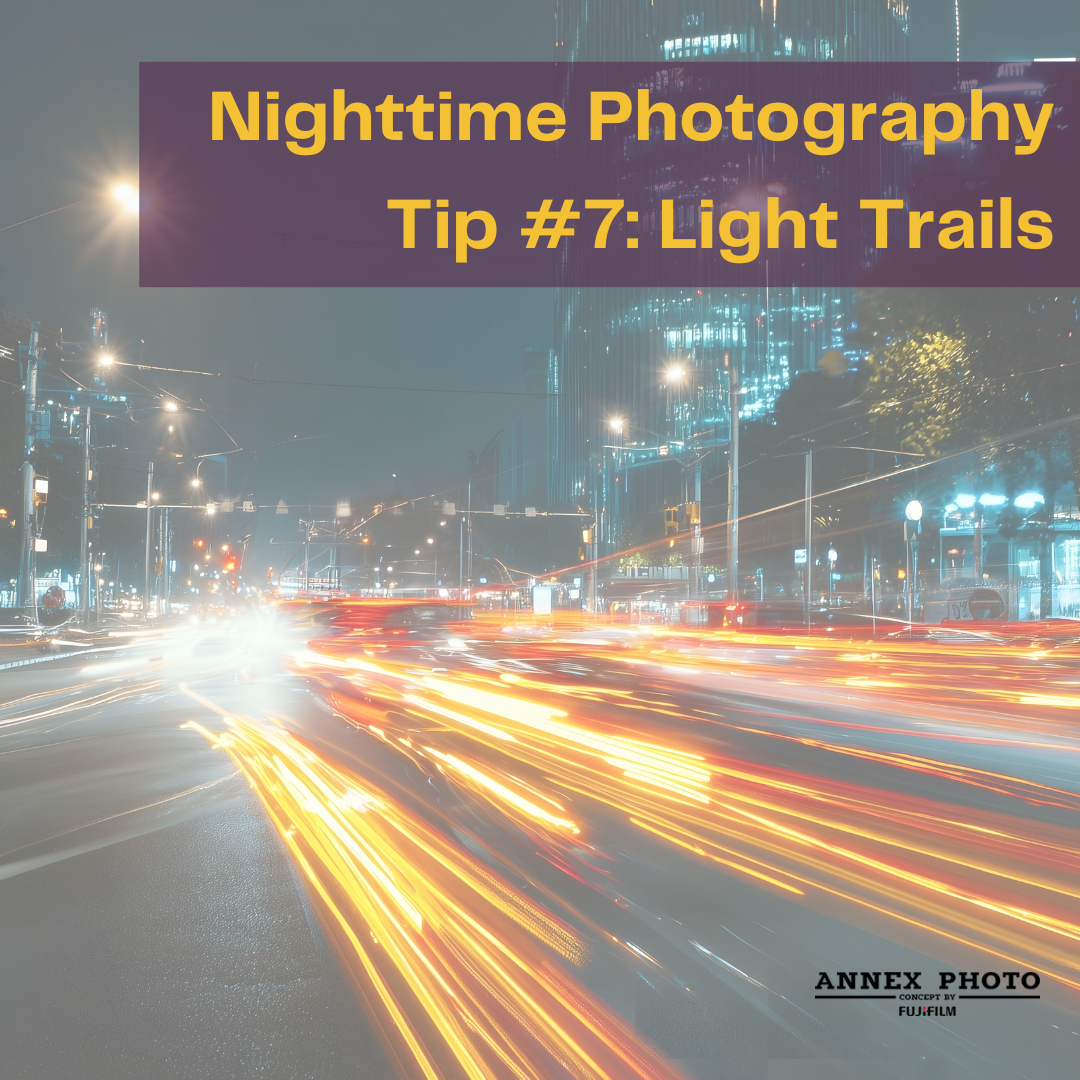
Long exposure is where night photography becomes really creative. One classic technique is capturing the movement of lights, such as car headlights and taillights, over time. Position your camera on a tripod overlooking a busy road, set your shutter speed to anywhere from 5 to 30 seconds (depending on how fast traffic is moving), and fire the shutter. The result will be continuous, colourful light trails that add motion and energy to your shot. Experiment with timing, angles, and composition to see what works best. This technique also works well for capturing the motion of amusement rides, ferries, or even fireworks.
8. Use a Remote Shutter Release or the Built-in Timer
Even with a tripod, pressing the shutter button by hand can cause a small amount of camera shake, especially during long exposures. To avoid this, use a remote shutter release or a cable release if your camera supports it. If you don’t have one, your camera’s built-in timer (usually 2 or 10 seconds) can work just as well. This delay gives the camera time to stabilize after you've pressed the shutter, ensuring sharper images.
Some newer cameras also offer wireless control via smartphone apps, which allow you to adjust settings and trigger the shutter remotely – especially helpful for cold nights when you want to keep your hands warm.
9. Review Your Images and Make On-the-Spot Adjustments
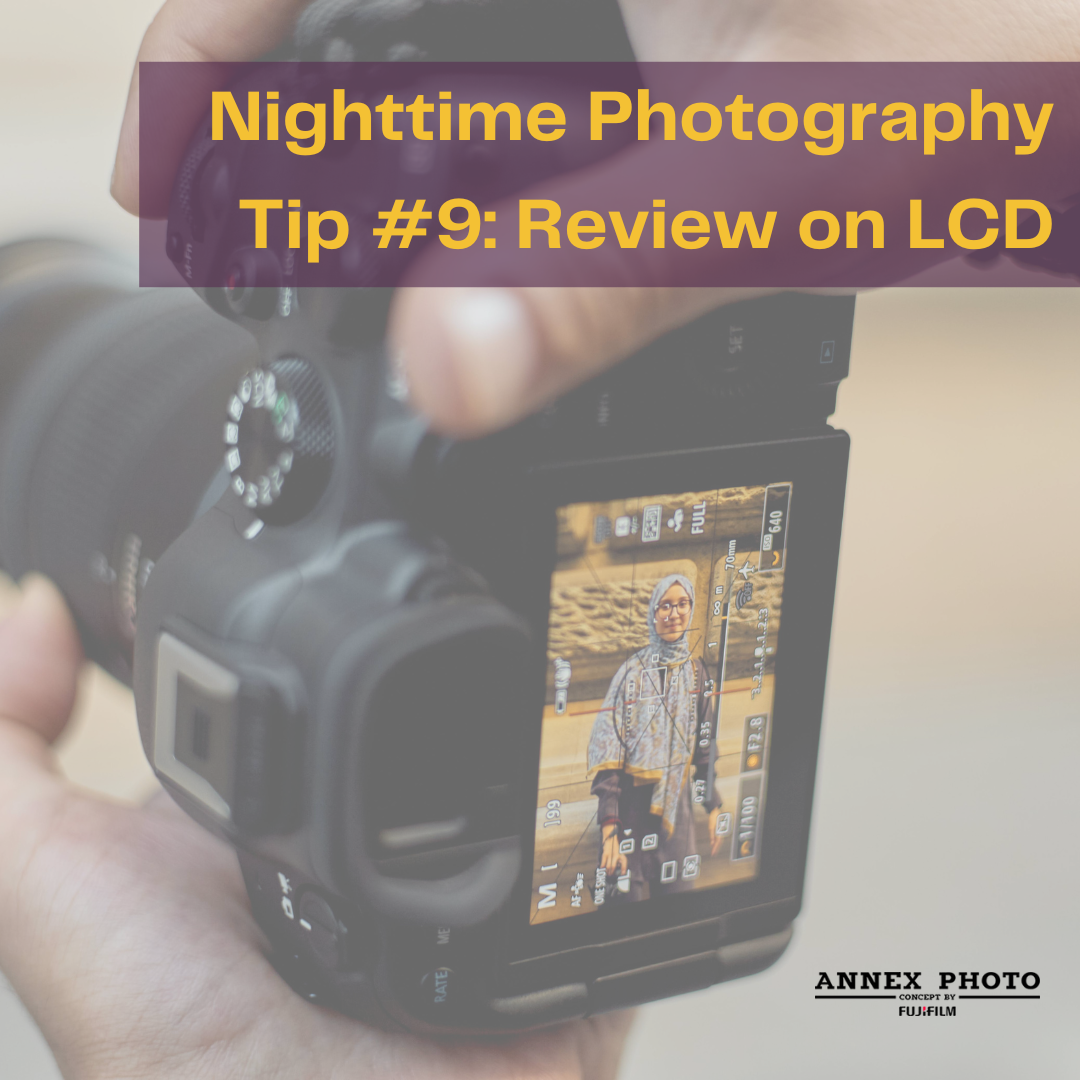
Night photography often involves trial and error. Don’t assume you’ve got the shot on the first try. Review your images carefully on the LCD screen and zoom in to check sharpness, exposure, and focus. Pay attention to your histogram as well; if it’s skewed too far to the left, your image is underexposed and may lose shadow detail. Adjust your settings accordingly – whether it’s increasing the ISO slightly, widening the aperture, or lengthening the exposure. Make sure you bracket your shots (taking multiple exposures) if the scene is especially challenging or high contrast.
Embrace the Creative and Atmospheric Side of Night Photography
Not every night photo needs to be perfectly lit or noise-free. In fact, some of the most compelling night images rely on mood, contrast, and ambiguity. Silhouettes, reflections, and shadows all play a powerful role in nighttime storytelling. Don’t be afraid to include elements of mystery – such as a figure disappearing into darkness or the reflection of city lights on wet pavement. These artistic choices can often elevate your work beyond just technical excellence. Let your instincts guide you, and experiment with different styles until you find a visual language that feels authentic to your perspective.
Night photography is both a technical and artistic challenge – but it’s also incredibly rewarding. With patience, the right gear, and a willingness to experiment, you can create images that evoke mood, tell stories, and reveal scenes most people never stop to look at. The night holds countless photographic opportunities – you just have to go out and find them.
Ready to master the art of night photography? The team at Annex Photo is here to help you capture stunning low-light images that tell powerful stories – reach out today for expert guidance and personalized tips.
#nightphotography #nighttimephotography #lowlightphotography #nightphotographytips #howtotakephotosatnight #nighttimephotographyguide #nightphotographysettings #longexposurephotography #lighttrailsphotography
Share
Most Recent Posts


